


")


I will not have you without the darkness that hides within you. I will not let you have me without
the madness that makes me.
If our demons cannot dance,
neither can we.
-Nikita Gill
Let me glimpse inside your velvet bones
- Edgar Allan Poe
"There is no exquisite beauty without some strangeness"
And Above All,
Watch with glittering eyes the whole world around you because the greatest secrets are always hidden in the most unlikely places Those who don't believe in magic will never find it.
- RoaldDahl


Darkness cannot dispel light,
it can only define it.
Crystallizing even the soft flicker
of a lone lit candle.
But light?
Light can cast away the shadows
until the darkness is gone.
This realization alone should encourage you to shine as brightly as possible.
a writing from Raynie's diary
raynie's journal

I AM


Lovely Skies + Vintage Vibes: Tackling Harsh Light Sessions
raynie's journal
As creatives, we tend to utilize the light we love as much as we can. There are so many different lighting options: natural light, studio light, off camera flash, etc. For many natural light photographers, it’s that beautiful golden hour glow that everyone is after. For others, its the color pops and soft hues of blue hour that they strive to shoot in the most.
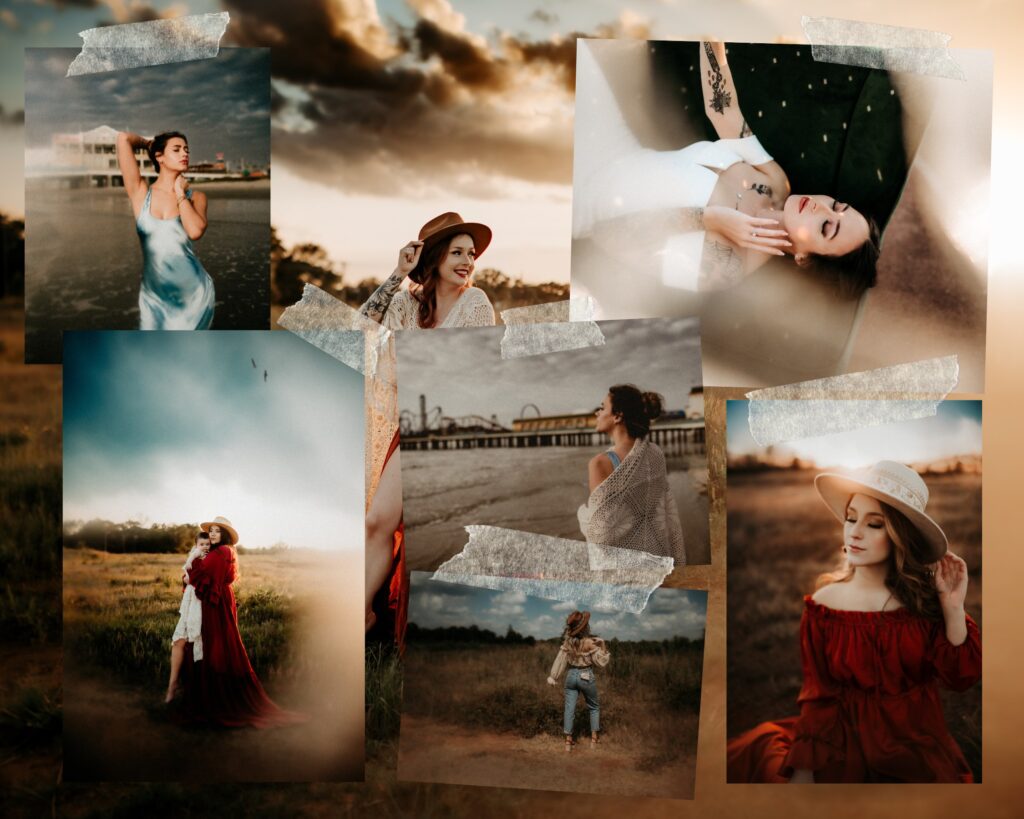
However, as much as we would like to control every possible scenario, sometimes we just can’t, and end up having to shoot in less than desirable lighting conditions.
Harsh sunlight is one lighting scenario that gets a really bad rep for being difficult to shoot in, and let’s face it, that’s accurate. But! It can be done, and if you’re someone who struggles to photograph in harsh light, I’m here to give you my best tips and tricks, share my settings, and some editing techniques to help make this difficult task a little bit more manageable.
There are several ways to tackle harsh light, including using external lighting/ off camera high sync speed flash, using reflectors, etc. However, for the purposes of this blog, I’m going to stick to completely utilizing just your camera and the light given in order to prepare you for unexpected harsh light scenarios. I mean let’s face it, a lot of the time, we don’t plan harsh light sessions on purpose.
The first thing I do when I arrive at the location is test how high in the sky the sun is. If it’s high noon, you may run into the issue of having shadows under your client’s eyes. This will make placement a little more difficult, but it can still be done! When I’m shooting in harsh light, I utilize 3 different types of lighting techniques: back light, direct light, and side light.
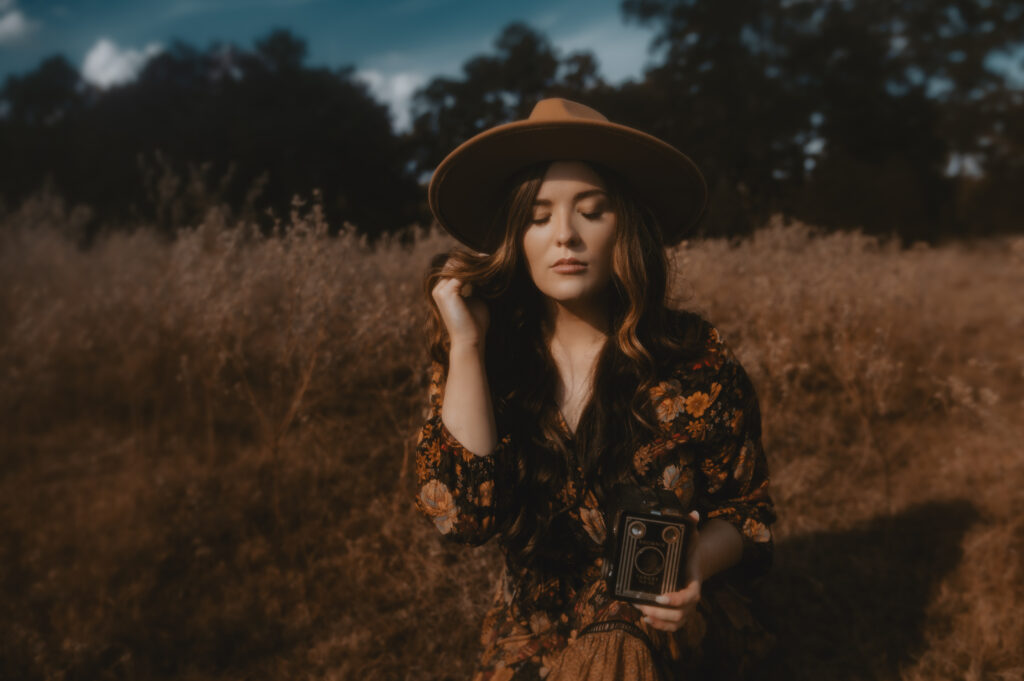
Back-lit harsh light is my go-to when the sun is high in the sky. To do this, have your subject face their back toward where the sun is coming from COMPLETELY. This will help eliminate squinty eyes, unpleasant shadows on the subjects face, and hot spots on their skin. Now the WAY you shoot back-lit photos completely depends upon your style. If you’re someone that likes a brighter look, with a slightly blown out sky, then you can expose for your subject, and leave the sky/scenery brighter in the background. BUT, if you’re like me, and you love bold colors, deep shadows, creamy skin, and keeping sky details, then you’ll want to shoot a bit differently. My go to is exposing for the highlights in the image. So if the sun is high and bright in the sky, I will pinpoint where the brightest part of the image is, and make sure THAT area is exposed properly (no hot spots), This sometimes means that my subject ends up being pretty underexposed, but for me and my personal style, it’s what suits me best. I do a lot of masking/brushwork in Lightroom afterward to bring the detail back.
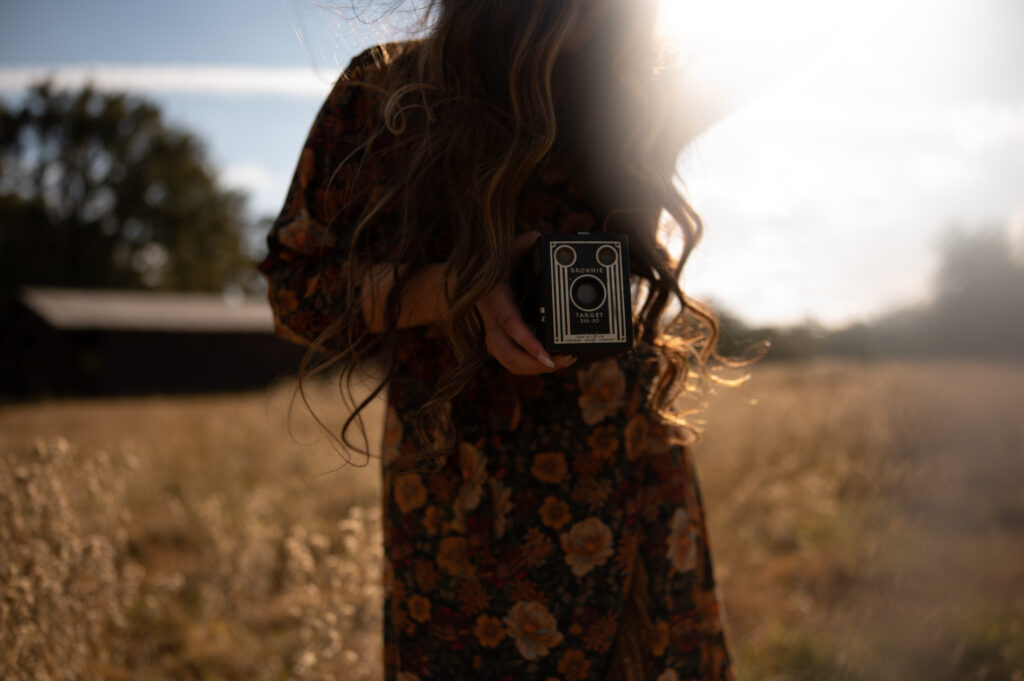
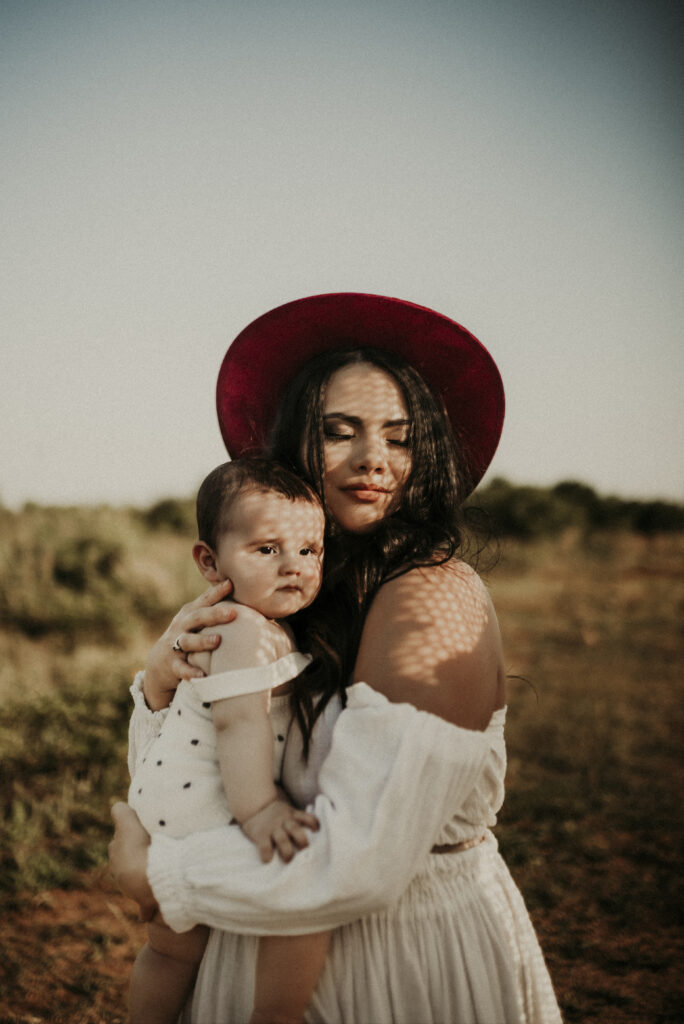
Direct harsh light is something I use often when I want to create dreamy images. It is completely possible to shoot in a way that leaves you with creamy colors and smooth skin tones even with the harsh sun directly lighting your subject. For these images, it is much easier to make sure everything is properly exposed because you aren’t fighting a heavily shadowed subject, instead your subject is FACING the sun and everything is lit more evenly. From there, I simply expose again for the brightest area of the image to ensure that everything is properly exposed and there are no blown highlights. Make sure your subject’s entire body is faced TOWARD where the sun is shining. For the image below, I added Nylons over my lens for a haze effect. Pro Tip: Have your subjects chin face upwards toward the light, that way any shadows fall below the jaw line. This ensures there are no dark shadows under the eyes or nose, and also creates a flattering shadow under the chin.

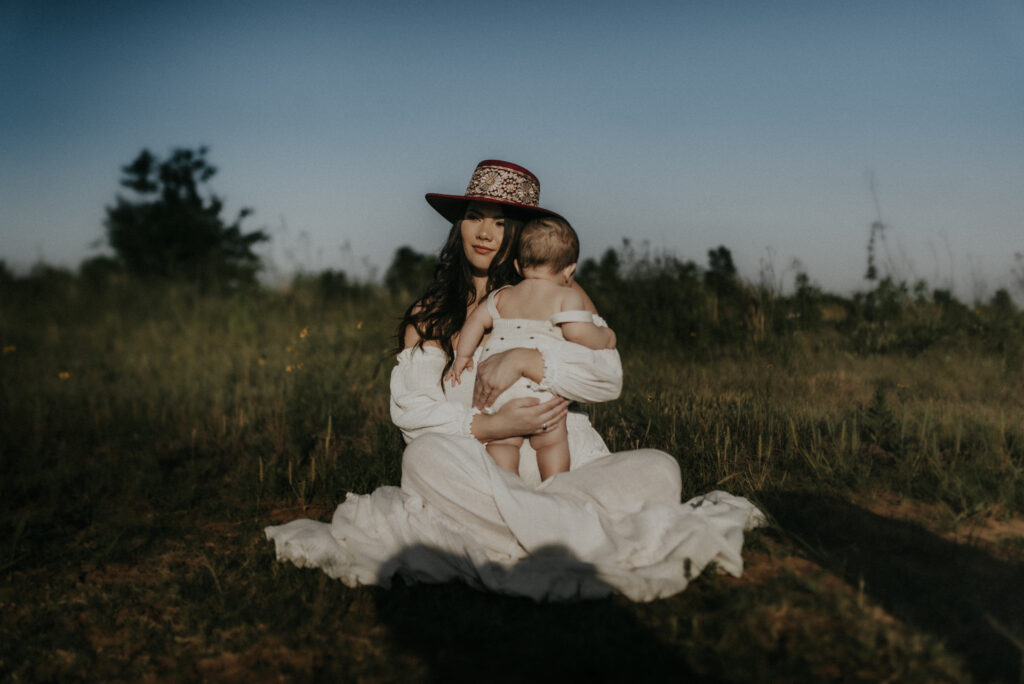
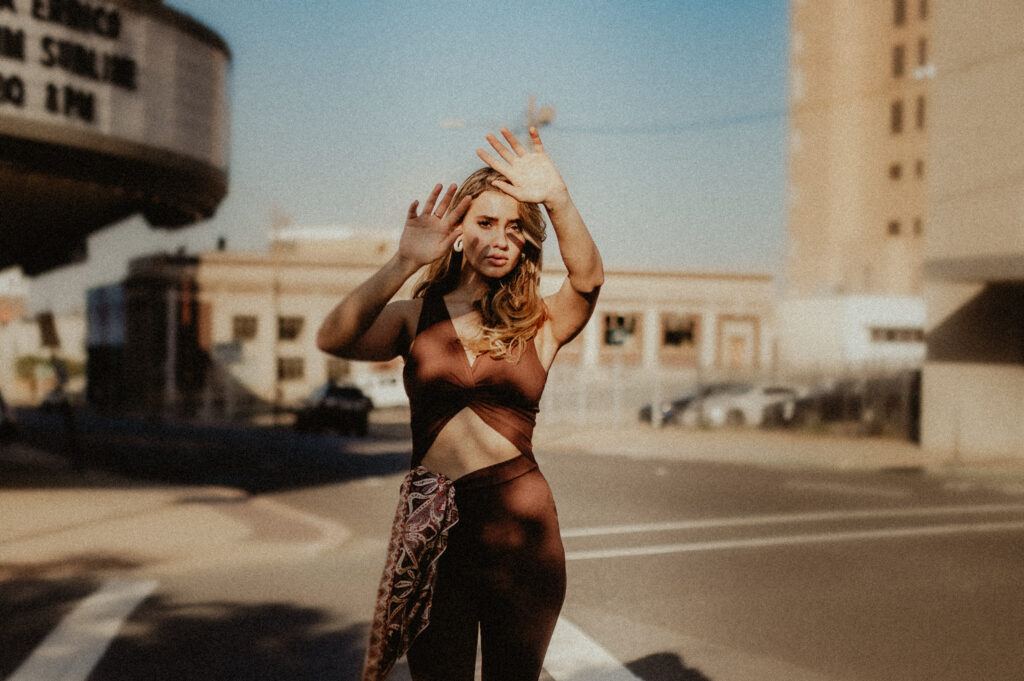
Direct harsh light is also my favorite way to create fun, creative photos because I can utilize the direct sunlight on my subject to create interesting shadows. For instance, using objects like lace blankets can create a cool shadow pattern on your subject. One of my favorite go-to for creative portraits in sunlight is to have my client place their hands over their face to create contrast and light/shadow play.
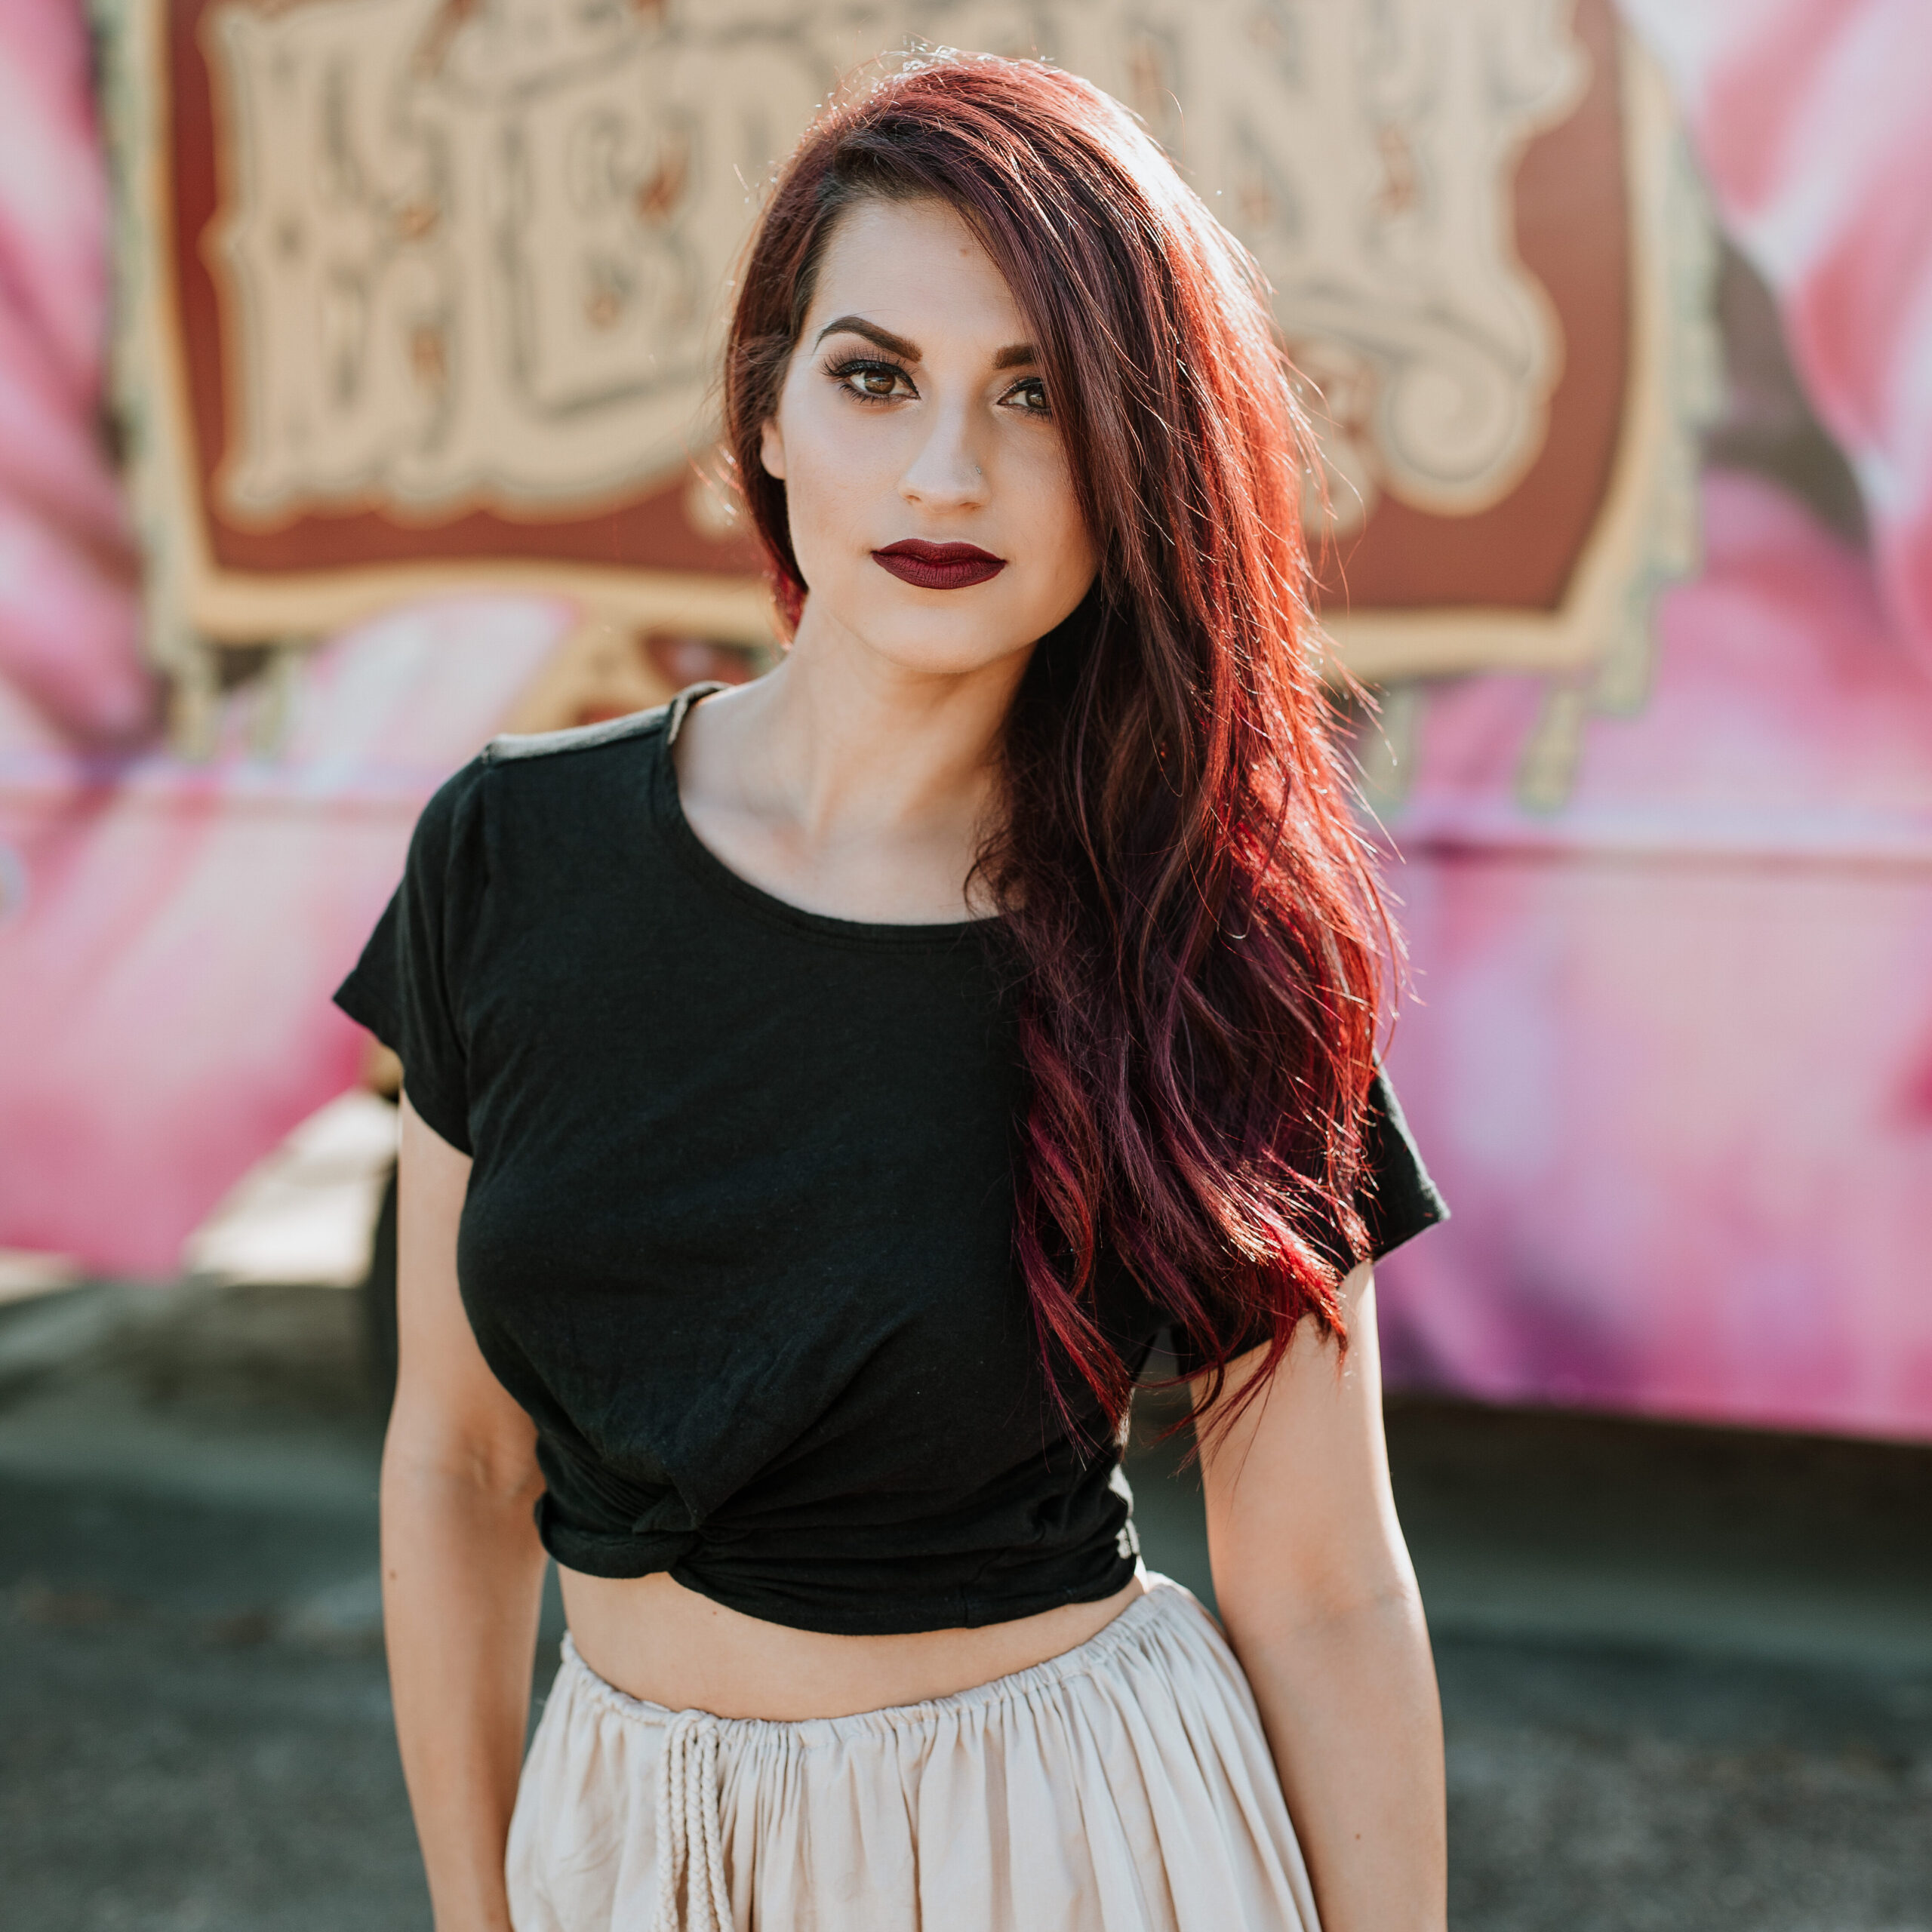
Side-light is another one of my favorite techniques to use when shooting in harsh-light. For this technique, you’ll want to make sure that your subject is placed in a way that the sunlight is coming from the SIDE of them, short-lighting their faces/bodies where they are half in the light, and half in the shadow area. This creates interest and contrast, is flattering for your subject, and still ensures that they are well-lit.
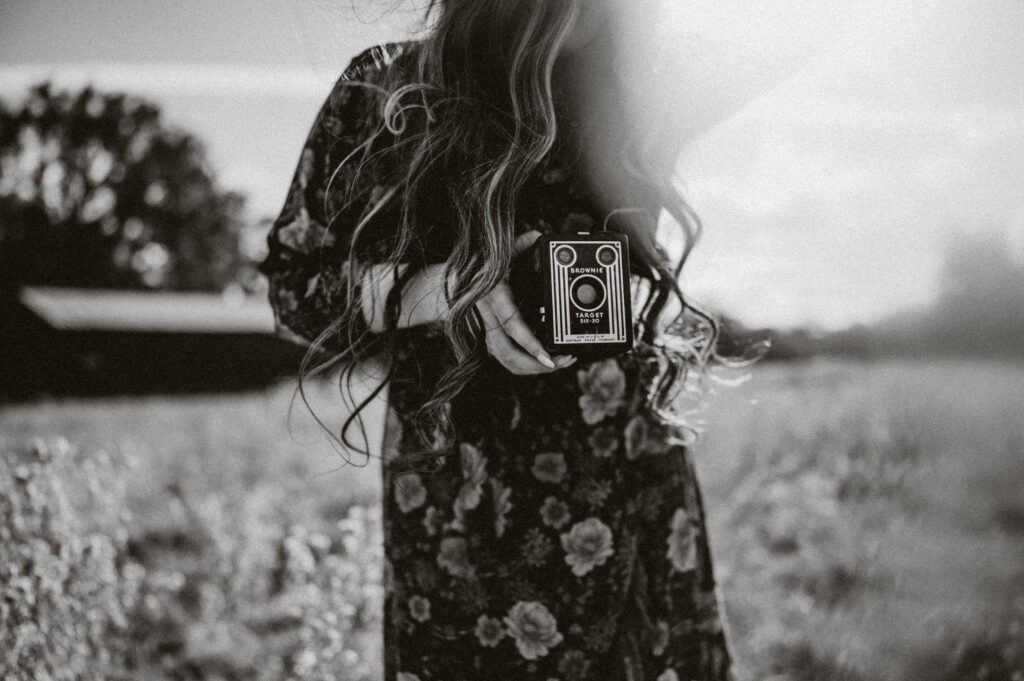
As stated above, there are MANY more ways to work in harsh light, and all of these different ways will give different looks to your images. I may upload more blog posts teaching my favorite tips/tricks using creative lighting techniques and utilizing artificial fill light such as OCF, but hopefully this short all natural light blog has helped prepare you in some way for your next harsh light session! Watch the video below to see of my process for editing a harsh light image.
Thanks for watching! Be on the lookout for a more in-depth article on harsh light in the next issue of BEC magazine. If you have any questions about harsh light shooting/editing, please drop them in the comments below and I’ll do my best to answer them.

CATEGORY

12/18/2022
POSTED
Lovely Skies + Vintage Vibes: Tackling Harsh Light Sessions

")
Leave a Reply


comments